

Progress continues to go well on Lance as we work to transform our 2017 Kenworth medium duty ambulance into an eXtreme RV as our new magic carpet ride for exploring the North American continent and beyond. I left off in last week’s update “We’re Floored” having finished installing all the insulation and ACM or Aluminium Composite Material paneling on the walls, ceiling and floors. This also brings the blog up to almost real time and I’m now starting to prep for installing all the PEX tubing for the heated floors. However I also need to bring you more up to date on the design and planning for the interior construction so that will be the focus here this week.  As I alluded to in the title for this week’s update, I decided to not use any wood or wood products in the structural build of Lance. The original ambulance box or habitat was built by Horton Emergency Vehicles and we sought these out in our search for the ambulance to buy as they are widely regarded as one of the best ambo builders out there.
Having now completely dismantled the entire interior and stripped it down to the bare aluminium framework and exterior AL panels I now know just how high the degree of quality is in the materials and construction techniques that Horton uses.
One of the things that somewhat surprised and delighted me was to discover that there is not even a toothpick worth of wood in this entire vehicle. Every single part is made from either pure aluminium or aluminium faced sheets of ACM.  As many of you would know we built our previous boat Mobiüs entirely out of aluminium as well and it remains one of my all time favorite materials to work and build with so it won’t come as any surprise that we’re choosing to do the same with Lance.
  As the title says, having decided to go all in on ALuminium, we have also chosen to use aluminium for building the new interior as well and will specifically be using T-slot extruded aluminium or XAL as I often abbreviate it, to build all of the framework for the interior cabinetry that I’m about to start on.
  I knew it would take some time to get this all shipped to us here in Klamath Falls so once I finished 3D modeling all the interior cabinetry what I’m about to show you, I had the exact amounts and types of extruded aluminium or XAL that would need and ordered it back in the beginning of June. It arrived a few weeks later and has been safely stored in the workshop here.
 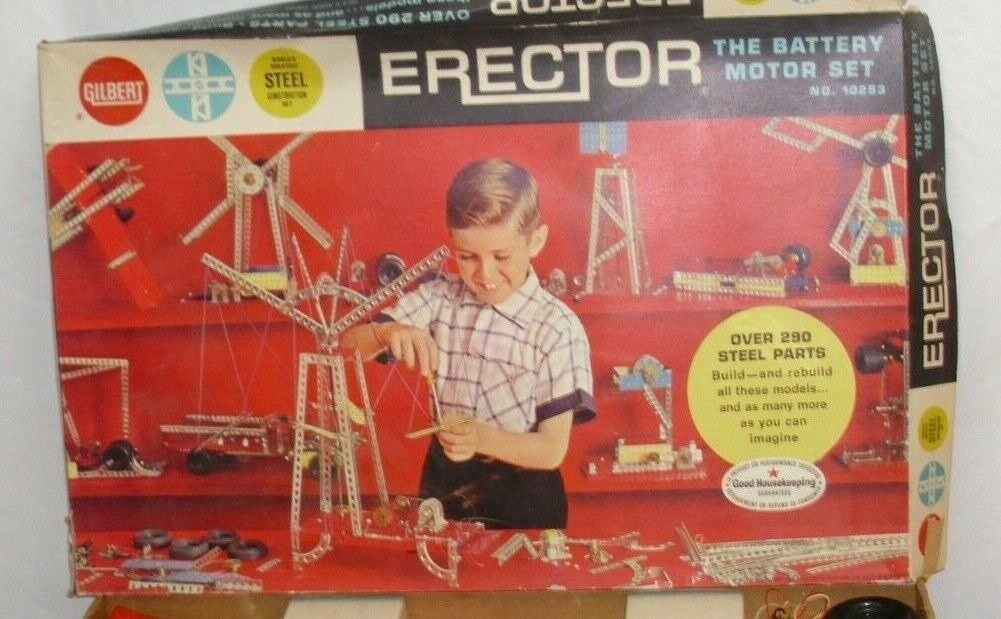 This T-slot XAL is often referred to as the “Erector set for adults” and having owned a LOT of the original Erector sets when I was a boy in the 50’s I can attest to how apt this description is.
  So here is some of the 2024 version of my newest Erector set!
  The XAL comes in a large variety of sizes and profiles such as this one which I’ll be using to create rounded corners on some of the cabinets.
  I will mostly be using what is called 10 Series XAL which is all based on 1” square modules with these dimensions. This version with slots on all four sides is the most common that I’ll be using.
  And then you can have ones like this with only a single slot and 3 smooth sides.
  Or you can start to have multiples of 10 Series such as this 1×3 extrusion that I’ll be using for the perimeter of the lifting bed frame for the extra stiffness this needs.
  Then there is an even larger number options for fastening two or more pieces of XAL to each other. The simplest and most common use one of these different types of T-nuts which slide in the T-slots and have internal threads you can bolt into.
  Such as with these types of 90 degree corner brackets.
You get the idea and you’ll soon be seeing LOTS of examples of this over the next few weeks as I start building the internal cabinetry.
Designing Cabinetry for T-Slot XAL
However before I could start building, I needed to design all the framing for all the internal cabinets down to the very last detail so here is a quick overview of that process.  As you may recall from the blog post back on July 15th “Evolution of Lance’s Interior Design” this is what the overall layout of the interior looks like, all of which will be framed with XAL.
  You can now start to see why I spent the time to create a very accurate 3D model of the framing of the Horton box that I am now turning into Lance’s “Happytat” as I now chose to spell the more common term of an ambulance’s habitat.
  I am using Autodesk’s 3D modeling program called Fusion 360 to create all my 3D models since first starting to design Mobius and so I started by creating a library of “Masters” of each of the profiles for all the XAL T-slot AL extrusions I might use such as this 3 slot profile.
  I had previously sketched the basic floor plan layout in Fusion 360 which you can see here in light Blue. (click any image to expand to see better)
The three orange squares in the far Left corner are at the Driver Side DS front corner of the Lance’s Happytat and show the X, Y and Z planes of the 3D model.  The Green frame is the AL framing on the Left side of the entry door steps as you walk in and is part of the welded in framing of the Happytat so I need to build the cabinets around that as well as all the external compartments that take up some of the interior space.
  3D modeling in Fusion is very straightforward, I simply chose one of the Master XAL profiles such as this rounded corner one, place that in the model and use the “Extrude” command to stretch this out to whatever length I need.
  And just like that, I’ve got the first corner of what will be the framing for the cabinet with the 2 burner induction cooktop at the Front Passenger Side (PS) by the entry door steps.
  Repeat the same process for each of the other lengths of XAL to build this cabinet using the profile needed for each one. You can see that I assigned different colours to each profile to make it easier to know which was which as the framing grew.
  Continue with a lot of “rinse & repeat” and the interior framing starts to take shape.
  The devil is indeed in the details and so it took several weeks worth of very long days to work out the correct profiles and how every intersection needed to work but it has been paying me good dividends ever since and well worth the effort.
In the end I used seven different profiles and 218 individual pieces of 10 Series XAL.
The maximum length before you run into big expenses and delays for shipping is 94 inches so I had to figure out how many pieces I could get out of each 94” length to calculate how many lengths of each profile I would need. I placed an order for a total of 101 different 94” lengths.  Total cost seemed pretty reasonable to me at $2179 plus $614 for shipping and $20 for double cardboard wrapping to prevent damage so the total cost of all the XAL delivered to me came to $2814. Total weight of the shipment was 650 pounds.
Now the real fun begins as I start cutting each of those 218 pieces to exactly the right length and fasten them together to create all the cabinetry. I’ll be back with details of all that in upcoming posts so do stay tuned and thanks as always for taking time to follow along here and add your comments and questions in the “Join the Discussion” box below.
Hope to see you again next week!
-Wayne
Hi Wayne, thanks for sharing your fascinating journey! so when you cut a piece of wood, you lose the width of the saw blade. Do you have to compensate for that loss of width when you cut aluminum? Is that built into the program?
Hi Sharon. Yes there is the same loss of the “kerf” of any saw blade no matter what the material is so no difference between aluminium and wood. Then there is always some degree of loss for the remaining off cuts of smaller pieces and so I typically just add about 20% to my estimates for the amount of any aluminium or other materials I’m buying and seems to work out about right and I end up with a nice amount of left overs that I always find use for over time. What I did in the case of ordering the lengths of extruded aluminium XAL was to spend some time calculating what combination of different lengths I needed that I could cut from each 94″ long piece of XAL. I typically start with the longest pieces I need and then see how much will be left over and what other length I need is a bit shorter than this cut off. I’m just about to start cutting all the XAL in the next few weeks so we’ll see how it all works out and I’ll note this in the upcoming blogs.
Thanks so much for taking the time to join along in this latest ride and for thoughtful comments such as this. Please keep ’em comin’!
So, as a challenge, you might cut all the pieces first, then pile them all on the floor and build it like an Erector Set!
Interesting idea Stephen and would indeed be quite the challenge as unlike the Erector pieces you and I recall, these pieces of XAL are all different lengths with very few multiples of the same. I was able to use colour coding in the 3D model to help make each different profile more easily identified but the actual XAL is of course all the same silver AL colour though the profiles are pretty easy to distinguish between. I will continue to refer to the model as I start building out the frame of each cabinet and work my way around the circumference of the interior that way. I’ve designed the cabinetry as a set of integrated cabinets rather than individual free-standing units and my guess is that this will be both easier and a bit more complex of a process, but the end result should be a very rigid overall framework for all the cabinetry and equipment. That along with the inherent rigidity and strength of the XAL should make for a very bulletproof interior that does not move, squeak, crack or rattle over time.
Wish me luck and stay tuned to see how it all works out in reality and I look forward to having you and Susan “aboard” Lance as soon as we can so you can see and inspect the results for yourself.